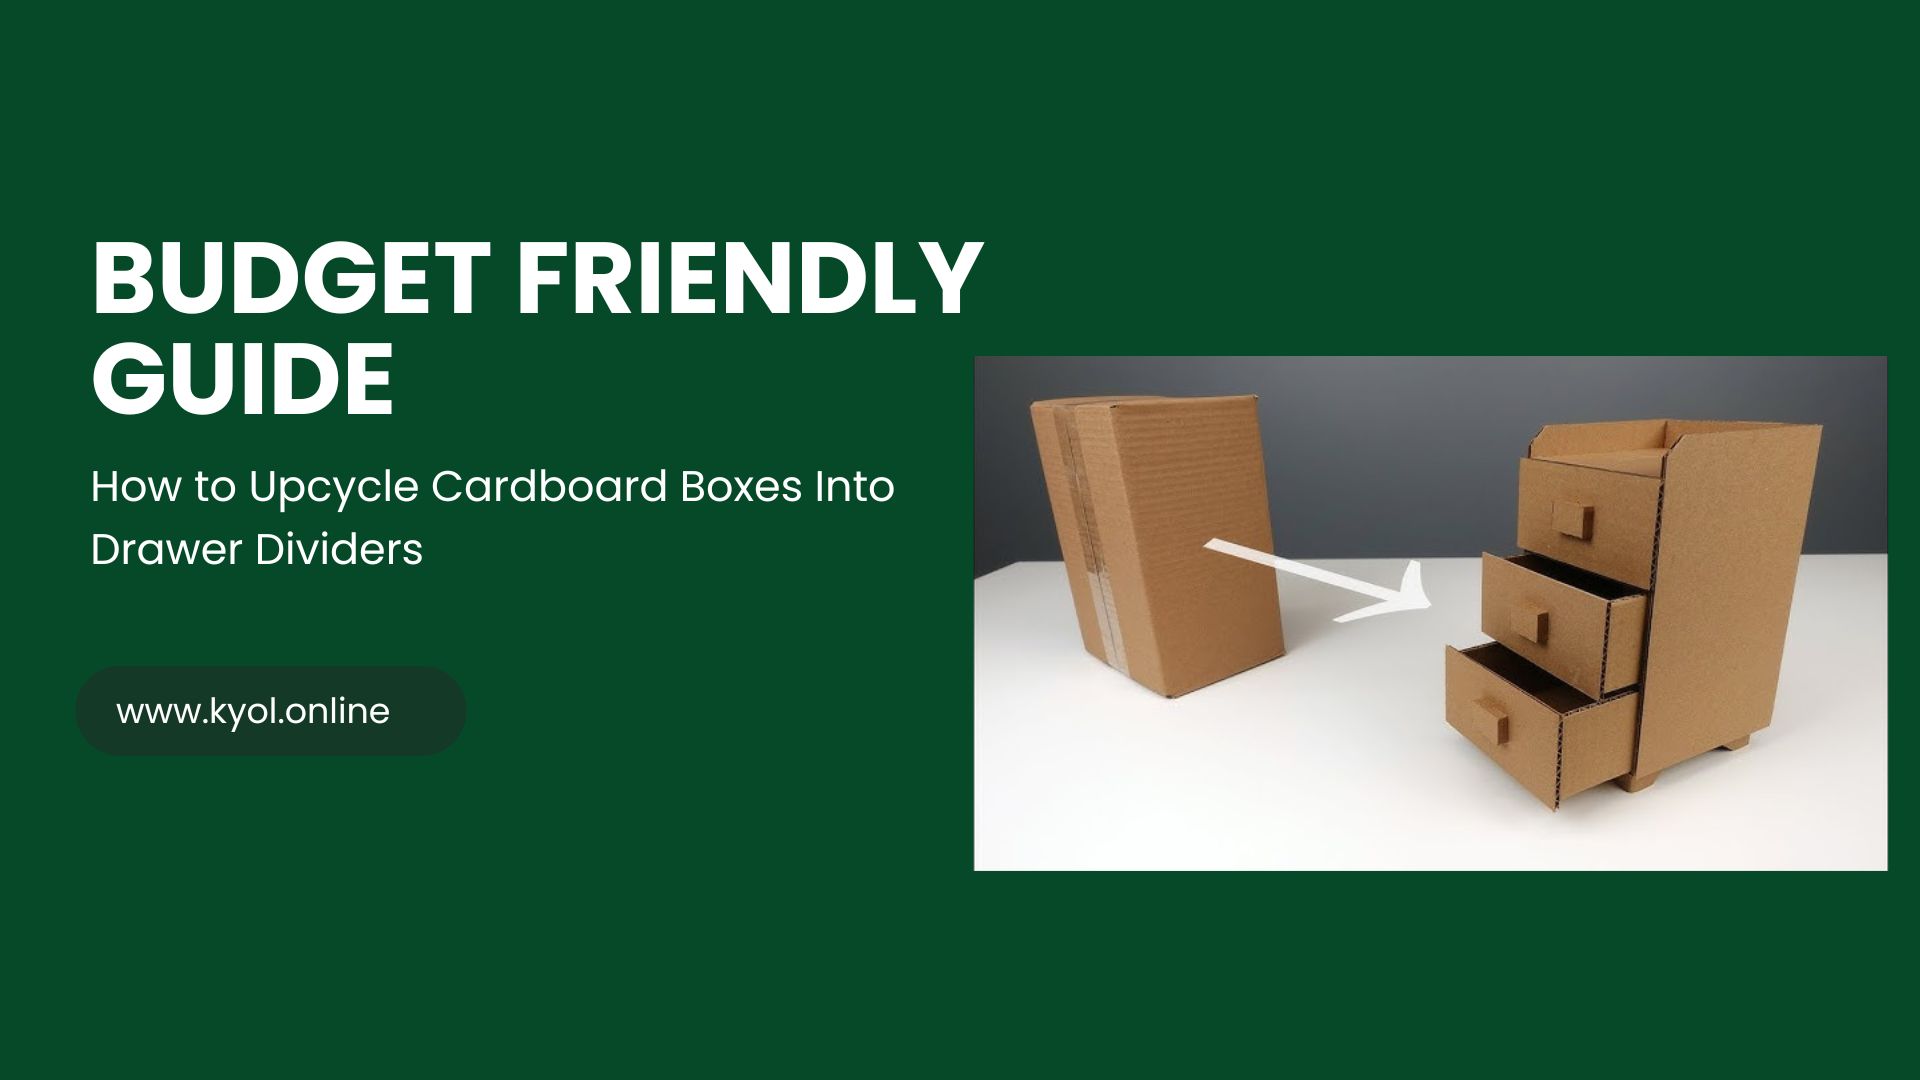
In todays eco conscious world finding creative ways to reuse everyday items is not just smart it is essential. One simple budget friendly, and environmentally friendly project you can try at home is upcycling cardboard boxes into drawer dividers. Not only does this help reduce waste but it also keeps your drawers neat and organized without spending a dime on expensive organizers.
This detailed guide will walk you through everything you need to know about turning those old cardboard boxes into functional drawer dividers perfect for clothes office supplies kitchen utensils or even craft materials.
Why Upcycle Cardboard Boxes?
Before diving into the how lets quickly explore the why:
- Eco friendly: Reusing cardboard reduces landfill waste and cuts down on the demand for new materials.
- Cost effective: Instead of buying drawer organizers repurpose materials you already have.
- Customizable: Cut and shape dividers to fit your exact drawer dimensions and needs.
- Creative: Personalize dividers with paint wrapping paper or fabric for a stylish touch.
Materials Needed
Before starting, gather the following materials:
- Old cardboard boxes thick and sturdy ones work best
- Ruler or measuring tape
- Pencil or marker
- Scissors or craft knife use safely
- Glue hot glue gun or strong craft glue
- Decorative paper paint or fabric optional for finishing
- Cutting mat or protective surface
Step by Step Guide to Making Drawer Dividers from Cardboard
Step 1: Empty and Measure Your Drawer
Remove everything from your drawer. Use a ruler or measuring tape to note down the drawers length width and height. These measurements will be your guide for cutting cardboard pieces.
Step 2: Prepare Your Cardboard
Flatten your cardboard box and pick the flattest cleanest panels. Avoid areas with tape glue or excessive bends.
Step 3: Mark and Cut Cardboard Pieces
Using your measurements mark out the pieces needed to create the dividers. A simple layout includes:
- Base strips for the length and width of the drawer
- Vertical dividers to segment the drawer into compartments
Cut the pieces carefully using scissors or a craft knife. Remember to cut slightly smaller pieces if you want dividers to fit snugly inside without forcing.
Step 4: Assemble the Dividers
There are two common methods for assembly:
- Slotted Dividers: Cut slits halfway through the length of each divider piece so they can interlock in a grid pattern.
- Glued Dividers: Use glue to attach pieces in the desired arrangement.
Make sure everything fits securely and stands upright.
Step 5: Optional Decorate Your Dividers
For a polished look cover the cardboard with decorative paper paint them with non toxic paint or wrap fabric around the pieces. This step also reinforces durability and prevents cardboard wear.
Step 6: Place Your Dividers in the Drawer
Slide your new dividers into the drawer arrange compartments as needed and start organizing your items neatly.
Tips for Successful Drawer Dividers
- Choose sturdy cardboard: Thicker boxes like those from appliances or furniture work best.
- Use sharp blades: Clean cuts make assembly easier and the final product sturdier.
- Label compartments: For easy access label each section with sticky notes or tags.
- Consider drawer depth: Adjust divider height accordingly to avoid interfering with drawer closure.
- Waterproofing: If you expect moisture coat the cardboard lightly with clear varnish or use laminated paper.
Benefits of Using DIY Cardboard Dividers
- Saves Money: No need to buy pricey organizers.
- Sustainability: Supports upcycling and reduces environmental impact.
- Customization: Tailor each divider to your unique drawer size and item categories.
- Fun DIY Project: Great for families and craft enthusiasts.
Common Uses for Cardboard Drawer Dividers
- Clothing drawers: Separate socks underwear scarves.
- Office drawers: Organize stationery, paper clips and gadgets.
- Kitchen drawers: Arrange utensils, spices and cooking tools.
- Craft drawers: Store beads, threads and tools efficiently.
Frequently Asked Questions FAQs
Q1: Is cardboard strong enough to be used as drawer dividers?
Yes When you use sturdy thick cardboard like from appliance or furniture boxes it is durable enough for organizing most drawer items. Adding decorative paper or fabric can increase its strength and longevity.
Q2: How do I make sure the dividers fit perfectly in my drawer?
Always measure your drawers length width and height carefully before cutting. It is a good idea to cut cardboard pieces slightly smaller than the drawers inner dimensions to ensure a snug fit without forcing.
Q3: Can I use these dividers for heavy items?
Cardboard dividers are best suited for lightweight to medium weight items like clothes office supplies or utensils. For very heavy items consider reinforcing the cardboard with extra layers or using stronger materials.
Q4: How do I keep the cardboard dividers clean?
If you cover the dividers with laminated paper or apply a clear varnish they become easier to wipe clean. Otherwise avoid placing wet or greasy items directly on the cardboard.
Q5: Are there any safety tips when cutting cardboard?
Always use a sharp blade or scissors on a stable surface and cut away from your body. Keep fingers clear of the blade path to avoid injuries.
Conclusion
Upcycling cardboard boxes into drawer dividers is a smart sustainable and budget friendly way to declutter and organize your living spaces. This simple DIY project not only helps reduce waste but also gives you the freedom to customize your drawer compartments exactly as you need.
With just a few materials and some creativity you can transform old boxes into practical organizers that improve your daily routine. Whether you want to tidy up your wardrobe workspace or kitchen drawers cardboard dividers offer a versatile and eco conscious solution.
Start your upcycling journey today and experience the joy of a neatly organized drawer all while making a positive impact on the environment.