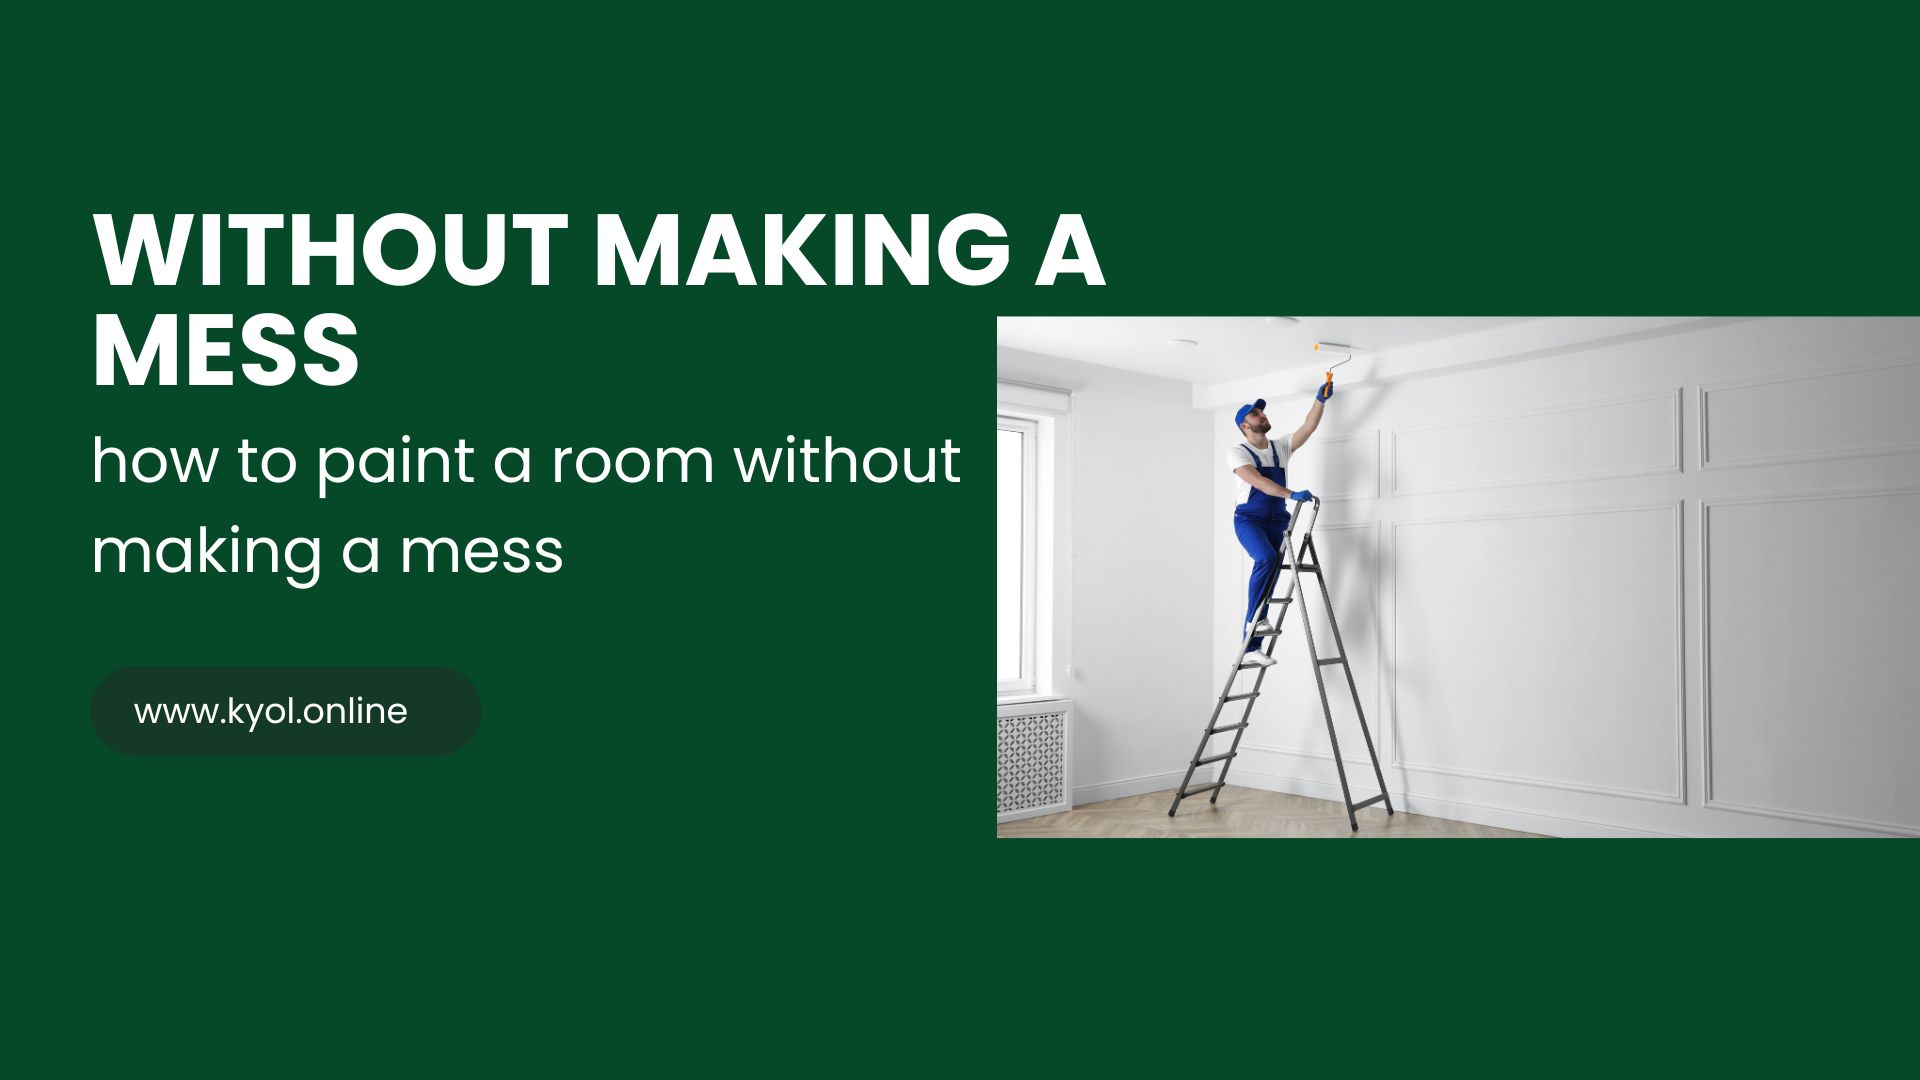
Painting a room seems simple until you find splatters on the floor streaks on the ceiling and paint on your favorite chair. Whether you are giving your space a fresh look or fixing up scuff marks knowing how to paint a room without making a mess can save you time, money and stress.
This guide will walk you through everything you need to know from prepping your space to applying the final coat cleanly and professionally.
Why Proper Painting Prep Matters
Painting is not just about picking a color and rolling it on the wall. The key to a mess free and professional looking job lies in the preparation.
Benefits of proper prep:
- Prevents spills and splatters
- Saves cleanup time
- Ensures smooth even results
- Protects furniture and floors
Tools and Materials You will Need
Before you open that paint can gather your supplies:
Essentials:
- High quality painters tape
- Drop cloths plastic or canvas
- Paint trays and liners
- Rollers and roller covers
- Angled paintbrushes 2–2.5 inches
- Extension pole for ceilings
- Ladder or step stool
- Rags or paper towels
- Mild soap and water
- Sandpaper or sanding block
Optional but helpful:
- Paint edger tool
- Paint guard or shield
- Vacuum or broom for floor prep
Step 1: Clear and Clean the Room
Move or Cover Furniture
Remove as much furniture as possible. For items that must stay move them to the center of the room and cover with plastic or cloth sheets.
Clean the Walls
Dust, dirt and grease can affect how paint adheres. Use a mild detergent and water to wipe down the walls especially in kitchens and bathrooms.
Step 2: Protect Surfaces
Lay Down Drop Cloths
Cover the entire floor with a drop cloth. Tape down the edges to prevent tripping or slipping.
Tape Off Trim and Fixtures
Use painters tape to protect:
- Window and door trim
- Baseboards
- Light switches and outlets or remove the covers
- Ceiling edges if not being painted
Press the tape firmly to avoid paint bleeding underneath.
Step 3: Repair and Prime
Patch Holes or Cracks
Fill holes with spackle or joint compound let it dry then sand smooth.
Sand Rough Areas
Lightly sand glossy or uneven areas so paint sticks better.
Prime If Needed
Priming is essential if:
- You are painting over a dark color
- The wall has stains
- The surface is porous like new drywall
Step 4: Start Painting Without the Mess
Cut In First
Use an angled brush to paint 2–3 inches along edges and corners before rolling. This creates clean lines and prevents overlap marks.
Use the W Technique for Rolling
Dip the roller evenly and paint in a W or M pattern then fill it in. This helps distribute paint uniformly.
Do not Overload the Brush or Roller
Too much paint drips and splatters. Use moderate amounts and remove excess by tapping or rolling it off in the tray.
Step 5: Let It Dry Then Do a Second Coat
Most paints need 2 coats for full coverage. Let the first coat dry fully before starting the second.
Tip: Check the can for drying time humidity and temperature can affect it.
Step 6: Clean Up Smartly
- Remove painters tape before the paint dries completely to avoid peeling.
- Wash brushes rollers and trays immediately if using water based latex paint.
- Fold drop cloths carefully to avoid spreading any wet paint.
- Ventilate the room well to remove paint fumes.
Bonus Tips to Keep it Mess Free
- Keep a damp rag nearby to wipe up drips immediately.
- Wear old clothes and non slip shoes.
- Use a paint guard or shield when edging for extra protection.
- Label leftover paint for touch ups later.
FAQs
Q: Do I really need to use painter’s tape?
A: Yes unless you have a very steady hand. Tape ensures clean lines and protects areas you do not want painted.
Q: How long should I wait between coats?
A: Generally 2–4 hours for latex paint. Always follow the label instructions.
Q: Can I paint over old paint without priming?
A: You can but for best results especially with bold color changes or stains priming helps.
Conclusion: A Clean Paint Job Is All About the Prep
Painting a room does not have to end in chaos. With the right preparation, tools and techniques you can give your space a fresh professional look without the mess. From taping edges and covering furniture to using smart painting methods like the W technique every step matters.
Remember the difference between a rushed job and a polished finish is often just a few extra minutes of prep. So take your time follow this guide and enjoy the satisfaction of a clean beautifully painted room that you can be proud of.