If you love books but do not want to put holes in your walls or if you are renting and need a solution that prevents damage, a floating bookshelf without nails is exactly what you need.
Floating shelves look modern and clean and with the right technique you can install them without drills, screws or nails keeping your walls pristine and your space stylish.
In this detailed guide I will walk you through everything you need to know about creating your own no nail floating bookshelf including materials step by step instructions, tips and even creative styling ideas.
Why Pick a Nail less Floating Bookcase?
Traditional shelves require anchors, screws or nails which means wall damage and sometimes a permanent fixture. But a floating bookshelf without nails offers:
- No wall damage: Perfect for renters or temporary spaces
- Easy installation: No power tools or heavy lifting required
- Flexibility: Move or reposition your shelves anytime
- Modern aesthetic: Clean, minimalist look that floats on your wall
- Cost-effective: Uses basic inexpensive materials like adhesive strips
If you want a simple, stylish and renter friendly way to display books this method is a winner.

What You will Need to Make a No Nail Floating Bookshelf
Before you start gather the following:
Materials
- Strong adhesive strips
Examples include 3M mounting strips rated for at least 10 to 15 pounds, heavy duty Velcro strips and Command Picture Ledge Strips. - Shelf board
Choose a lightweight wood board, MDF or even a repurposed hardcover book if you want an ultra minimalist look - L-brackets with adhesive backing (optional)
For extra support if your shelf is longer or you want more security - Level
To ensure your shelf is perfectly straight - Measuring tape or ruler
- Pencil
For marking placement - Decorative materials (optional)
Paint, stain or contact paper to customize the shelfs appearance
Step 1: Choose the Perfect Spot
Before you mount your shelf think carefully about placement:
- Wall type: Smooth, clean drywall or wood surfaces work best. Avoid textured or wallpapered surfaces because adhesive strips may not stick well.
- Height: For easy access and visibility, position shelves at eye level or slightly above (around 5 to 6 feet from the floor).
- Space: Consider how much width you want for your shelf typically 18 to 24 inches wide is ideal for a floating bookshelf.
Step 2: Select or Prepare Your Shelf
Your shelf board can be:
- A lightweight wood plank, around 3/4 inch thick cut to your desired length (18–24 inches is typical)
- An MDF board (smooth and easy to paint)
- A creatively repurposed hardcover book hollowed out if you want an ultra unique look
Tip: Sand down rough edges and paint or stain your shelf before mounting for a polished finish.

Step 3: Clean and Prepare the Wall and Shelf
For the adhesive to stick properly:
- Wipe your wall with rubbing alcohol or a mild cleaner to remove dust, dirt or grease
- Let the wall dry completely
- Clean the back of your shelf where adhesive strips will be applied
Step 4: Apply Adhesive Strips to the Shelf or Brackets
How to apply adhesive strips correctly:
- Use adhesive strips rated for your shelf weight. For heavier shelves use multiple strips spaced evenly.
- If using L brackets with adhesive backing stick them firmly to the shelf first.
- Press adhesive strips firmly for 30 seconds to 1 minute to ensure a good bond.
- Follow the manufacturers instructions about wait time before mounting (usually 1 hour for best adhesion).
Step 5: Mark Your Wall
- Use a pencil and level to mark where the shelf will go.
- Measure twice, mark once a crooked shelf is a quick giveaway that its DIY!
- Draw a faint horizontal line where the bottom of the shelf will sit.
Step 6: Mount the Shelf
- Align the shelf with your pencil marks.
- Press the shelf firmly against the wall for at least 30 seconds to ensure the adhesive grips well.
- Hold it in place if needed or use temporary support (like a stack of books or boxes) while the adhesive cures.
- Let it cure for at least 1 hour or as per adhesive instructions before placing any items on it.
Step 7: Add Books and Decorations
Once secure:
- Start with lightweight books or objects first.
- Avoid placing items heavier than the adhesive weight limit (usually 10 to15 pounds).
- Use decorative bookends if you want to keep books upright without tipping.
Tips for a Long Lasting Floating Bookshelf
- Do not overload: Stick to the recommended weight limits on your adhesive packaging.
- Avoid placing shelves in damp or humid areas (like bathrooms) unless your adhesive is moisture resistant.
- Check the shelfs stability every few weeks to catch any loosening early.
- Remove shelves carefully by following the adhesive strip removal instructions to avoid damaging paint.
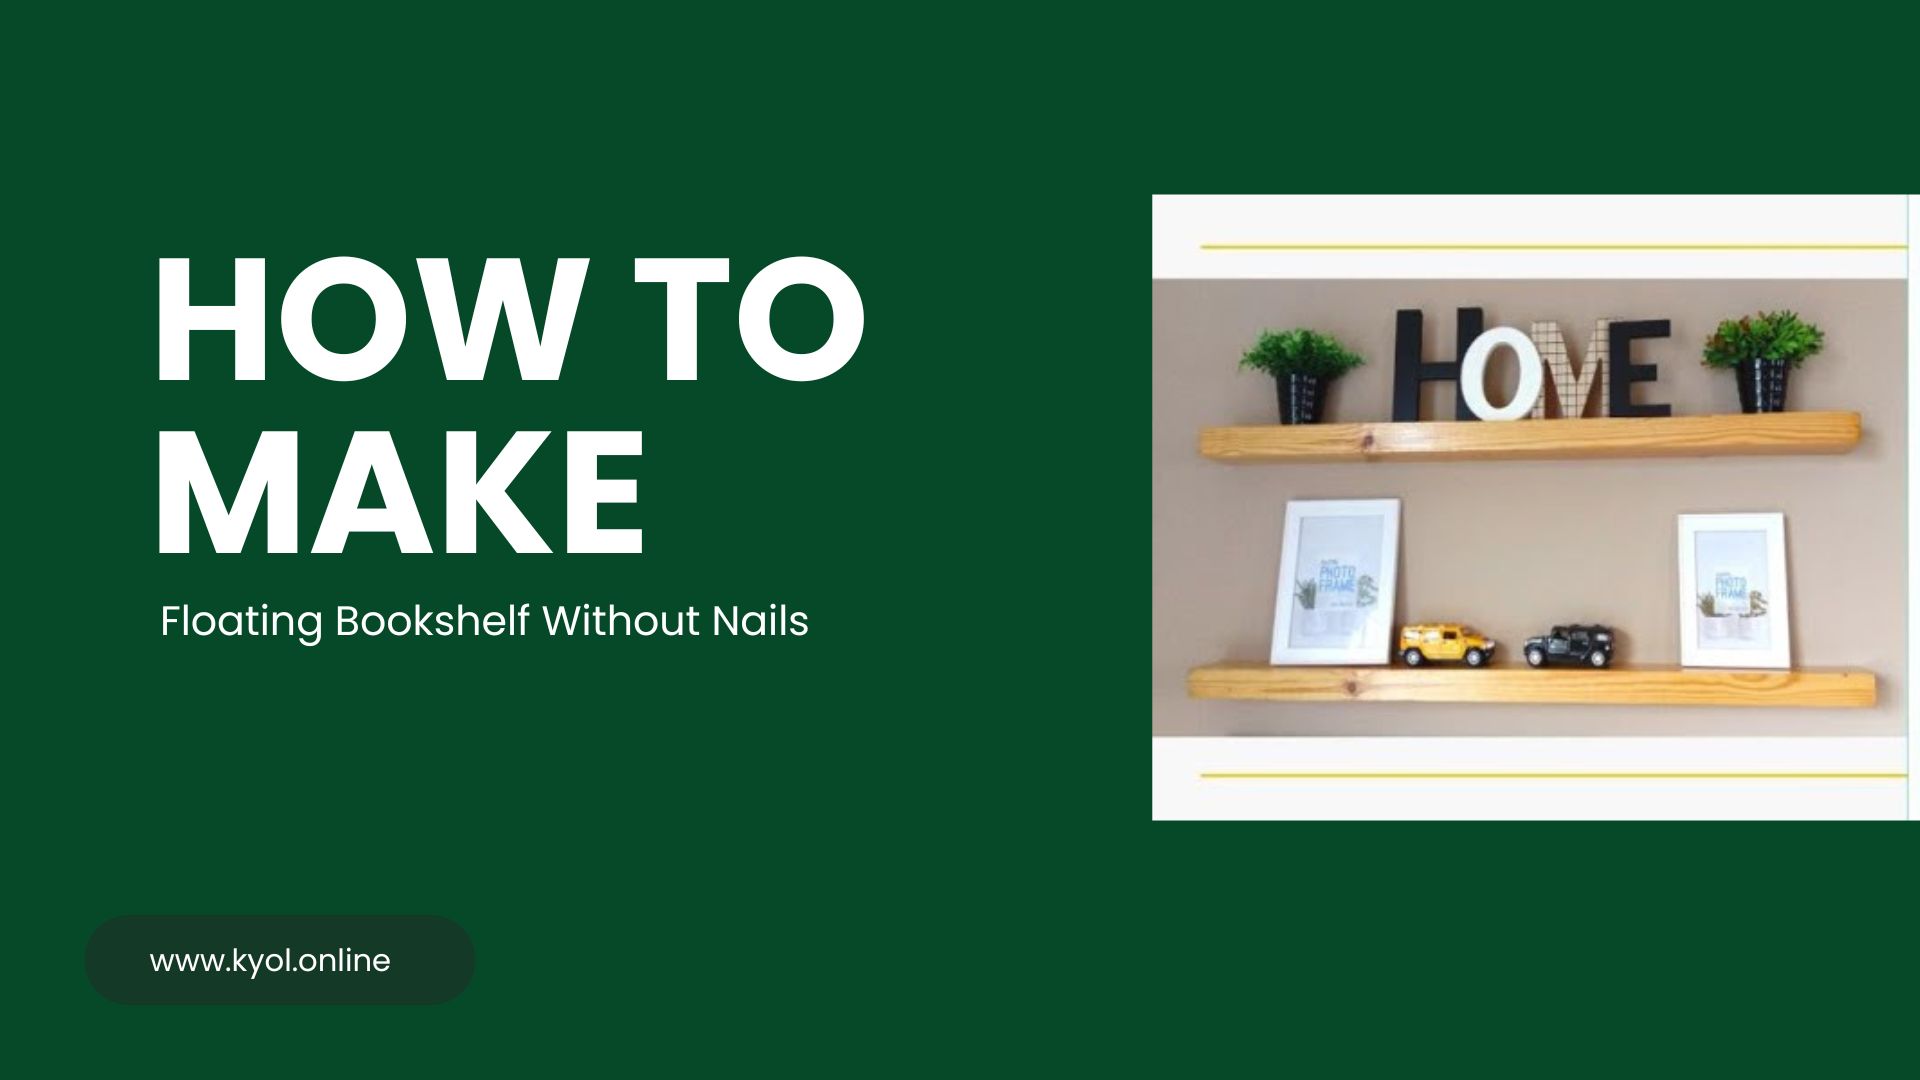
Creative Ideas for Your No Nail Floating Bookshelf

- Use multiple small shelves staggered vertically for an artistic look
- Display small potted plants to add greenery
- Showcase collectibles or framed photos alongside books
- Create themed shelves (e.g., travel books + souvenirs)
- Use color-coordinated books for a sleek, cohesive look
FAQs
Can adhesive strips really support the weight of books?
Yes heavy duty adhesive strips are surprisingly strong. For example Command strips can hold up to 15 pounds if properly applied and cured. Just avoid stacking very heavy books or many items on a single shelf.
Will this work on all wall types?
Best on smooth surfaces like drywall and finished wood. Avoid rough textures brick or wallpaper as adhesives do not stick well there.
Can I use this method for larger shelves?
You can but for larger or heavier shelves consider using more adhesive strips or combining with adhesive backed L brackets for extra support.
Conclusion
Making a floating bookshelf without nails is a simple renter friendly way to bring style and functionality to your space without the mess of drilling holes. With a few materials and some patience you can create a sleek shelf that holds your favorite books and decor all while keeping your walls pristine.