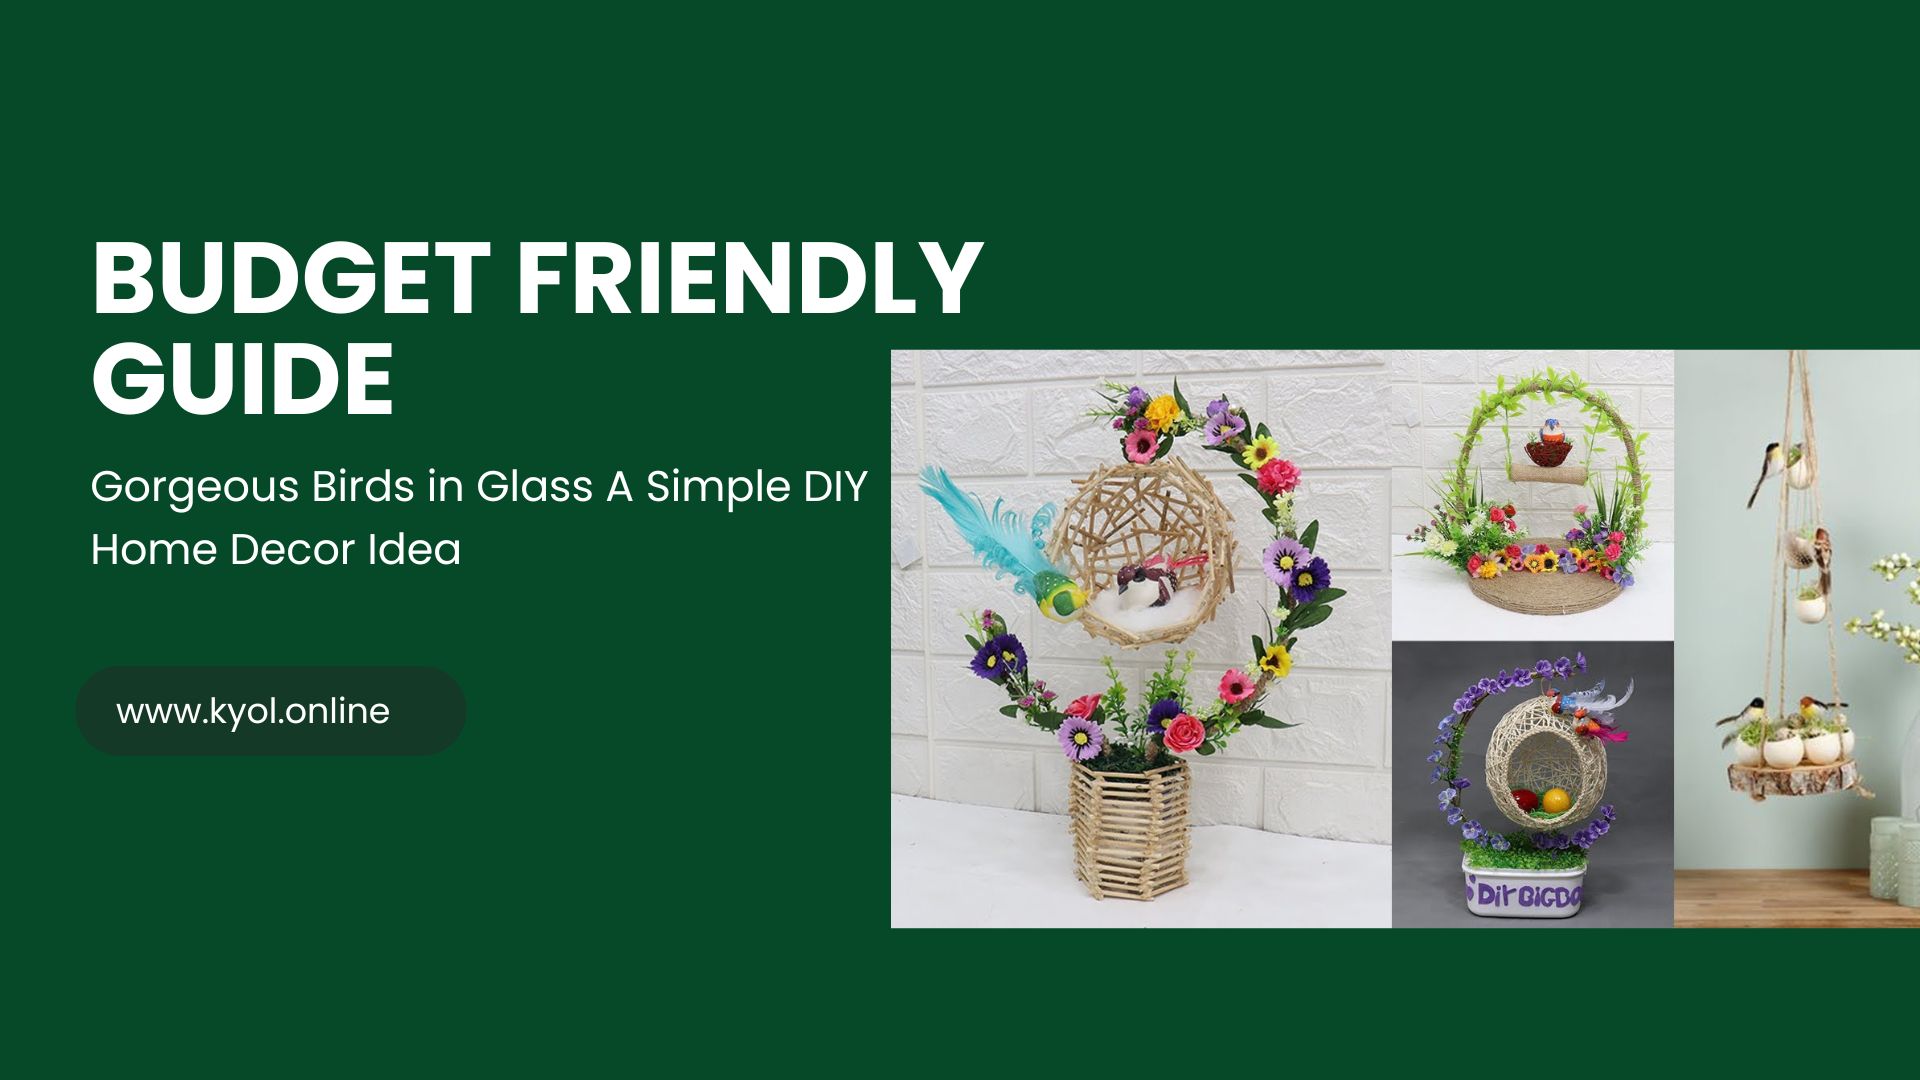
If you are looking for a creative budget friendly and eye catching way to brighten up your living space making stunning glass color birds is an excellent DIY home decor idea you must try. This project combines the elegance of stained glass with the charm of colorful birds offering a unique decor piece that is easy to make and perfect for any room.
In this detailed guide I will walk you through everything you need to know to create your own glass color birds no prior experience required. Whether you are a DIY beginner or a seasoned crafter this step by step tutorial will help you add a splash of color and personality to your home effortlessly.
Why Choose Glass Color Birds for Home Decor?
Glass art has a timeless appeal and incorporating it into your decor instantly adds sophistication and charm. Here is why glass color birds are a fantastic choice:
- Vibrant and versatile: The colors catch light beautifully, creating dazzling effects that change throughout the day.
- Personal touch: Handmade decor feels special reflecting your creativity and style.
- Affordable: You do not need expensive materials or tools simple supplies can achieve stunning results.
- Great gift idea: These colorful birds make thoughtful handcrafted gifts for family and friends.
Materials You will Need for Your Glass Color Birds
Before we dive into the process gather these supplies. They are easy to find at craft stores or online:
- Clear glass sheets or glass panels small size works best
- Glass paint available in various vibrant colors
- Paintbrushes fine and medium sized for details
- Glass adhesive or glue suitable for glass projects
- Bird-shaped stencil or template printable or hand drawn
- Masking tape or painter’s tape
- Protective gloves optional but recommended
- Newspaper or plastic sheet to protect your workspace
Step by Step Guide to Making Stunning Glass Color Birds
1. Prepare Your Workspace
Lay down newspaper or a plastic sheet to protect your surface. Ensure good ventilation if you are working with glass paints and wear gloves if desired.
2. Choose or Create Your Bird Design
You can find free bird shaped templates online or draw your own. Place the stencil under or on top of the glass sheet securing it with masking tape to prevent shifting.
3. Apply the Glass Paint
Using fine brushes carefully fill in the bird design with your chosen glass paint colors. You can blend shades for a more realistic effect or use bold bright colors for a modern look. Remember thinner paint layers dry better and avoid bubbling.
4. Let the Paint Dry Completely
Follow the instructions on your glass paint for drying time. Most paints require a few hours but some may need up to 24 hours for a fully cured finish.
5. Add Details and Highlights
Once the base coat is dry add finer details like feathers eyes or wing patterns using a thinner brush or paint marker designed for glass.
6. Secure Your Glass Bird
If you want to display the bird as a standalone piece use glass adhesive to attach a small hook or stand on the back. Alternatively mount it in a frame or hang it near a window to catch sunlight beautifully.
Tips for Best Results and Longevity
- Always use high quality glass paint to ensure vibrant colors and durability.
- Avoid washing your glass birds harshly clean gently with a soft cloth.
- Experiment with different bird shapes and colors to create a collection.
- Display near natural light to maximize the colorful glow effect.
- If working with kids supervise carefully and opt for non toxic glass paints.
Why This DIY Project Is Perfect for Everyone
Whether you want a fun weekend craft or a new hobby making stunning glass color birds is a rewarding activity that combines artistry with home decoration. It is easy enough for beginners and allows experienced crafters to express their creativity fully. Plus you end up with a beautiful personalized decor piece that brightens your space no need for expensive store bought decorations.
Frequently Asked Questions FAQs
1. Can I use regular acrylic paint instead of glass paint for this project?
Regular acrylic paint can stick to glass but often peels off over time. For lasting results and vibrant colors it is best to use specialized glass paint designed to adhere well to glass surfaces.
2. How long does it take for glass paint to dry completely?
Drying times vary by brand but typically glass paint dries to the touch within 1-2 hours and cures fully within 24 hours. Always check the instructions on your paint for the best guidance.
3. Is this DIY safe for beginners?
Absolutely This project requires no advanced skills or tools. Just follow the steps carefully and you will create beautiful glass birds even if you are a complete beginner.
4. How do I clean my finished glass color birds?
Use a soft damp cloth to gently wipe the surface. Avoid harsh chemicals or abrasive scrubbers that could damage the paint.
5. Can I hang these glass birds outside?
While the glass and paint can withstand some exposure prolonged outdoor use may cause fading or damage. It is best to display them indoors or in covered areas.
Conclusion
Making stunning glass color birds is a fun simple and rewarding DIY home decor project that anyone can try. With just a few materials and a bit of creativity you can craft beautiful colorful accents that brighten your living space and impress your guests. This project not only enhances your home aesthetic but also offers a relaxing artistic outlet.
By following this guide you ensure your glass birds will be vibrant durable and unique a true reflection of your personal style. So why wait? Gather your supplies start painting and transform plain glass into stunning works of art!
