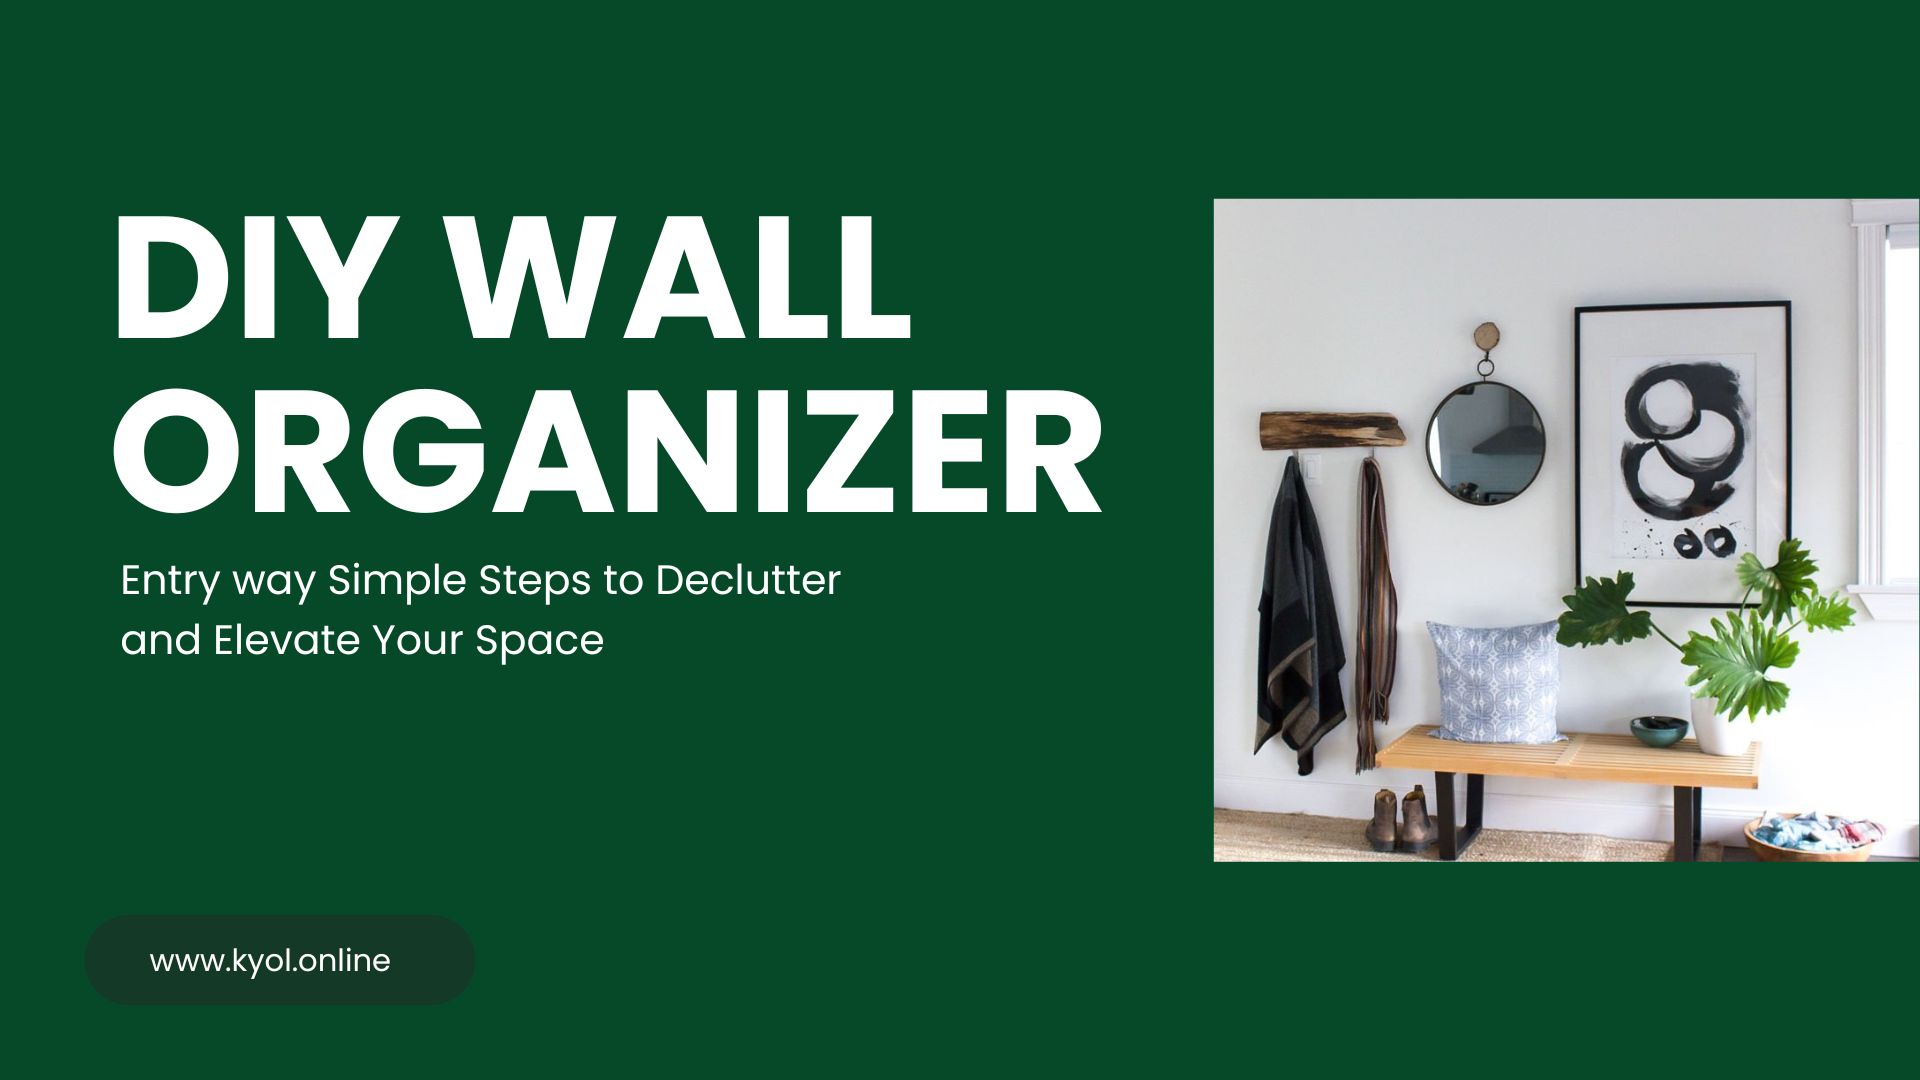
Lets be honest your entryway says a lot about your home. Its the first thing people see when they walk in and if its messy or disorganized it can create instant stress. Keys tossed on a table mail piling up and random shoes scattered ? We have all been there. The good news ? There is a stylish, affordable and easy fix a DIY wall organizer for your entryway.
Whether you are a seasoned DIYer or just dipping your toes into the world of home improvement this project is practical, customizable and totally beginner friendly.
Why Build a Wall Organizer?
A wall organizer is not just about tidying up its about maximizing small spaces adding a personal touch to your decor and creating a smooth routine. Think of it as your homes command center a place for your keys, dog leash, mail, sunglasses or even your favorite inspirational quote.
It helps:
- Keep essentials in one spot
- Reduce daily stress and lost items
- Add style and structure to your space
What You will Need

You do not need a full workshop to build this. A few basic tools and materials will get the job done:
Materials:
- Wooden board (reclaimed wood or pine works great)
- Hooks (coat hooks, cup hooks or decorative options)
- Small baskets or mason jars (for mail or pens)
- Chalkboard paint or a small corkboard (optional but handy)
- Wall anchors/screws
Tools:
- Drill
- Screwdriver
- Sandpaper
- Paint or wood stain (optional)
- Level
Step by Step: Build Your Entryway Wall Organizer

1. Plan Your Layout
Before you touch any tools sketch a layout. Think about what you need most: key hooks ? Mail holder ? Chalkboard for notes ? Arrange the components on the board before committing.
2. Sand & Prep the Wood
Even if you have going for a rustic vibe a quick sand smooths edges and helps paint or stain adhere better.
3. Paint or Stain (Optional)
Want a clean modern look? Paint it white or black. Going rustic? Try a light stain or weathered gray. Let it dry thoroughly.
4. Attach Hooks and Accessories
Screw in your hooks for keys hang baskets for mail or glue on clips for notes and receipts. Make sure everything is level and well spaced.
5. Mount to Wall
Use wall anchors if you are not screwing into studs. You want this secure especially if you will be hanging heavy bags or storing multiple items.
Bonus Tips for Style and Function
- Add a small mirror for last minute hair checks
- Use mason jars for pens, coins or hand sanitizer
- Attach a small shelf for a plant or framed photo
- Use a label maker or hand-lettered signs to mark sections
FAQs About DIY Wall Organizers

Q1: Can I build a wall organizer without power tools?
Yes! While a drill makes the job quicker you can use basic tools like a hammer, nails and adhesive hooks for a simplified version.
Q2: What type of wood is best for a DIY wall organizer?
Pine is affordable and easy to work with. Reclaimed wood is also a great eco friendly option that adds character.
Q3: How do I make the organizer renter friendly?
Use removable adhesive strips over the door hooks or lean it against the wall if possible. Avoid drilling unless you have landlord permission.
Q4: How long does it take to build one?
Depending on your design it usually takes 1 to 2 hours including paint/stain drying time. Its a great weekend project.
Conclusion
A DIY wall organizer for your entryway is more than a home project its a solution to daily clutter a boost to your homes style and a small win that pays off every day. It does not have to be expensive or complicated. With just a bit of creativity and effort you can build something functional and beautiful that fits your space perfectly.
Whether you are organizing for a family, roommates or just yourself this little piece of wall art will make your life smoother, tidier and a whole lot more stylish.