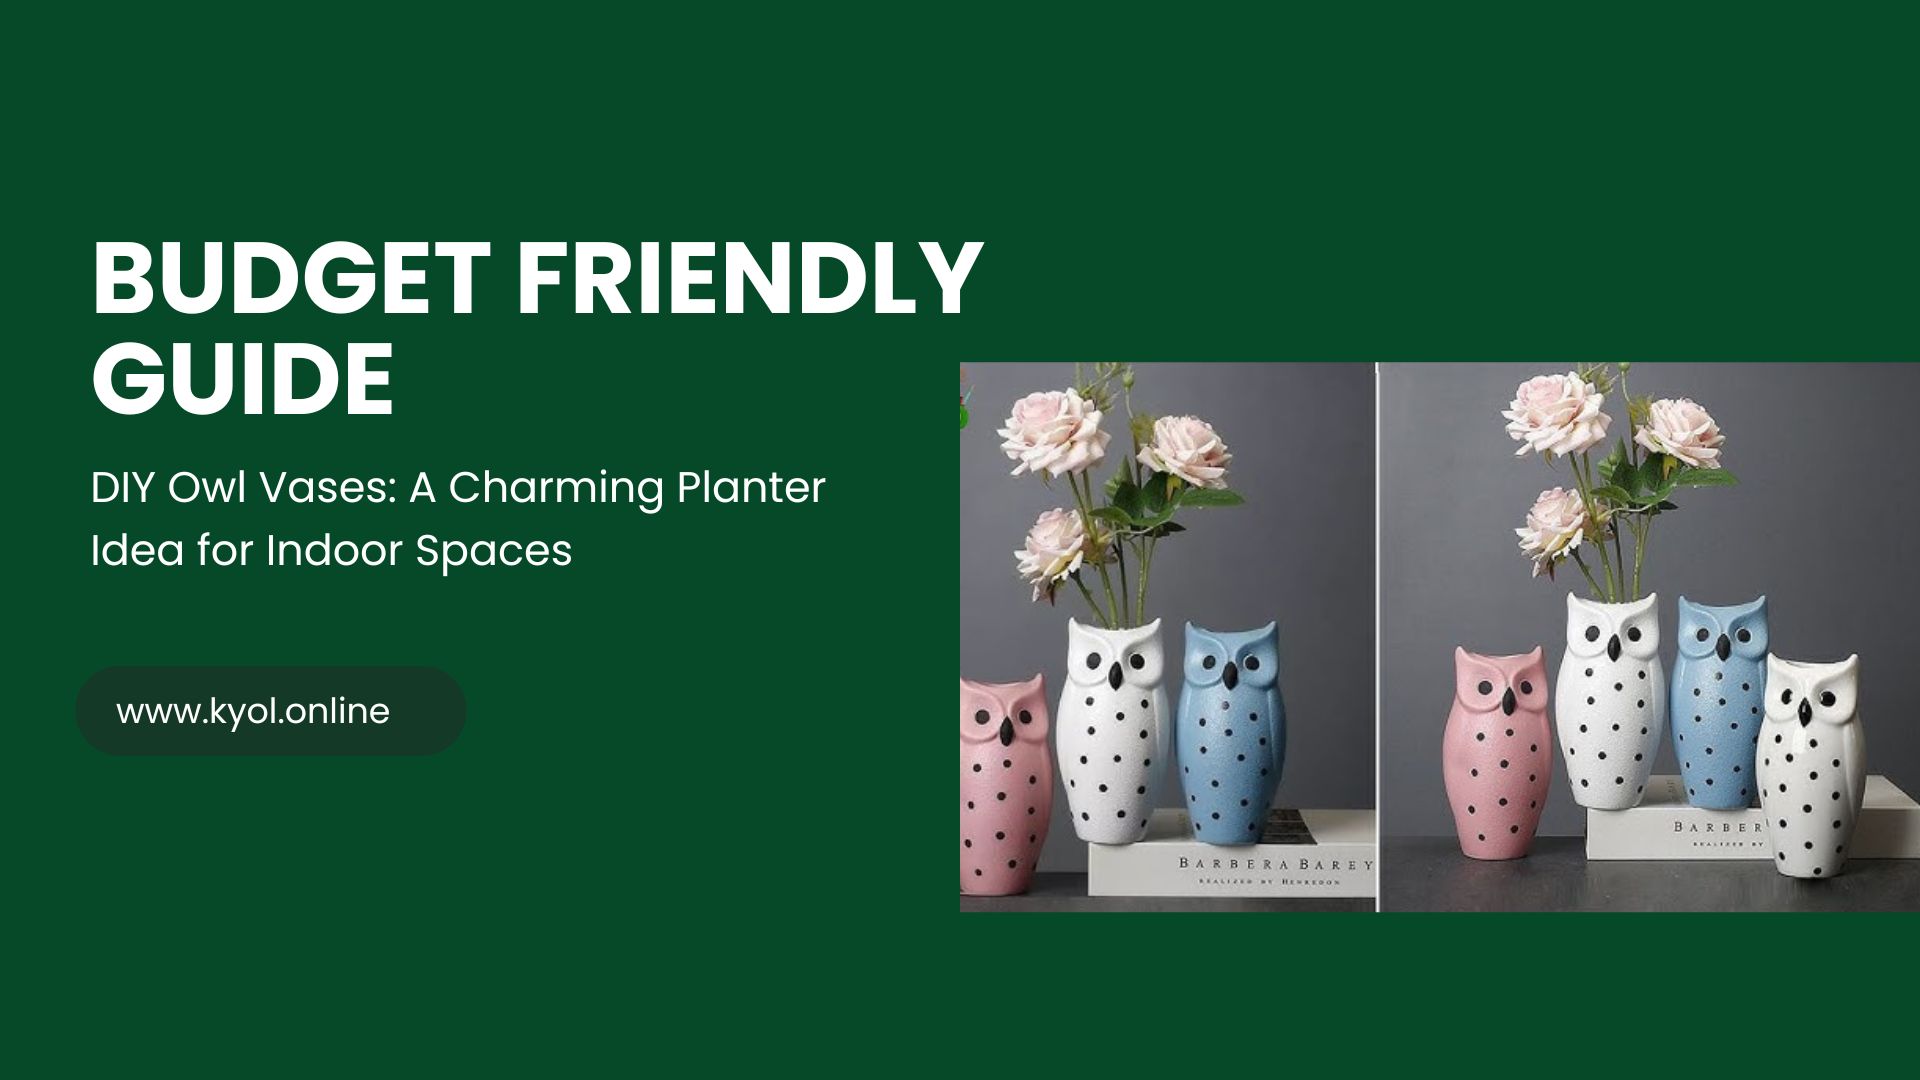
Are you looking to add a touch of whimsy and personality to your indoor garden? DIY owl vases make the perfect blend of creativity functionality and charm. Whether you are a seasoned crafter or a beginner making your own owl planter can transform any room with its delightful and cozy vibe. This detailed guide will walk you through everything you need to know to create beautiful owl vases that brighten up your indoor space while doubling as perfect planters.
Why Choose DIY Owl Vases for Indoor Plants?
Owls symbolize wisdom mystery, and comfort qualities that make them ideal for decorative pieces in your home. Beyond their aesthetic appeal owl vases are incredibly versatile and practical:
- Unique Décor: Owl designs add character and uniqueness to your indoor garden.
- Compact and Functional: Perfect for small spaces like windowsills desks or shelves.
- Great for Beginners: Simple DIY methods can yield charming results without needing advanced crafting skills.
- Eco Friendly: Repurposing old jars, bottles or containers reduces waste.
Materials Needed for Your DIY Owl Vase
Before diving in gather the following supplies for an efficient and enjoyable crafting session:
- Empty glass jars tin cans or ceramic pots any container works
- Acrylic paints earth tones white black yellow
- Paintbrushes fine tip for details and medium for base coats
- Hot glue gun and glue sticks
- Craft foam or felt sheets optional for added 3D details
- Googly eyes or small buttons optional
- Potting soil and your favorite indoor plants or succulents
- Clear sealant spray optional for durability
- Newspaper or craft mat to protect your workspace
Step by Step Guide to Making Your Owl Vase
Step 1: Prepare Your Container
Clean your chosen container thoroughly and remove any labels or stickers. Dry it completely before painting.
Step 2: Base Paint
Apply a base coat of acrylic paint in your preferred owl color browns greys or whites work great. Allow it to dry completely. Apply a second coat if necessary for an even finish.
Step 3: Paint Owl Features
- Eyes: Paint large white circles for the eyes. Once dry add smaller black circles in the center.
- Beak: Use a small brush to paint a yellow or orange triangle just below the eyes.
- Feathers: Create feather patterns by adding layered U shapes or V patterns using darker shades of your base color.
Step 4: Add 3D Elements Optional
Glue on googly eyes or small buttons for eyes to make the owl pop. You can also cut shapes from craft foam or felt to create wings ears or even a textured belly attaching them with hot glue.
Step 5: Seal Your Artwork
Once all paint and glue have dried spray a thin layer of clear sealant to protect your artwork from chipping or water damage.
Step 6: Plant Your Indoor Greenery
Add potting soil inside your owl vase and plant your favorite indoor plant succulents cacti or small ferns work wonderfully. Water carefully to avoid damaging the paint.
Tips for Choosing the Right Plants for Owl Vases
Since owl vases tend to be on the smaller side picking the right plants is crucial:
- Succulents: Low maintenance and visually appealing.
- Air Plants: Require no soil and minimal watering.
- Miniature Ferns: Add a touch of lush greenery.
- Herbs: If placed in a sunny kitchen window herbs like basil or mint work well.
How to Care for Your DIY Owl Planter
- Water sparingly overwatering can ruin both the plant and your vase.
- Place in indirect sunlight to keep plants healthy and colors vibrant.
- Dust off the vase regularly to keep your owl looking fresh.
- Re pot plants as needed when they outgrow their container.
Why This DIY Project Is Perfect for You
Creating your own owl vase planter not only adds a whimsical touch to your indoor space but also offers a relaxing and rewarding crafting experience. This project is ideal for:
- Home decor enthusiasts
- Plant lovers wanting personalized planters
- Craft beginners looking for an easy fun project
- Ecoc onscious individuals repurposing containers
Frequently Asked Questions FAQs
1. What materials work best for making DIY owl vases?
Glass jars tin cans and ceramic pots are ideal containers. Use acrylic paints for decoration and hot glue for attaching additional elements like googly eyes or felt wings.
2. Can I use any indoor plants for owl planters?
Yes Succulents air plants miniature ferns and small herbs are perfect for owl vases especially since these planters are often small in size.
3. How do I prevent the paint from peeling when watering the plants?
Use a clear sealant spray over your painted owl vase to protect the paint from water damage and chipping.
4. Is this DIY project suitable for beginners?
Absolutely The steps are straightforward and require minimal crafting experience making it perfect for beginners.
5. Can I recycle old containers for this project?
Definitely Repurposing jars cans or bottles is eco friendly and adds a unique character to your owl planter.
6. How often should I water plants in an owl vase?
It depends on the plant species but most indoor plants like succulents require watering every 1-2 weeks. Always check the soil moisture before watering.
Conclusion
Creating DIY owl vases is a delightful way to bring personality and greenery into your indoor spaces. This simple yet creative project allows you to recycle old containers express your artistic side and grow your favorite plants all while enhancing your home décor with charming owl themed planters. Whether you are crafting for yourself or as a thoughtful handmade gift these owl vases offer both beauty and functionality.
By following this guide you can confidently design paint and plant your own unique owl vases that brighten any room. So gather your supplies unleash your creativity and enjoy the rewarding experience of making these adorable indoor planters that are sure to become conversation starters.