Want to add a stunning feature to your home without hiring a contractor? A DIY modern wood slat accent wall is a perfect way to transform any plain space into a cozy high end modern look and the best part is you can do it yourself on a weekend.
In this detailed guide we will walk you through everything planning, tools, materials, installation and finishing. Whether you are updating a living room, bedroom, hallway or office this tutorial makes it easy and budget friendly.
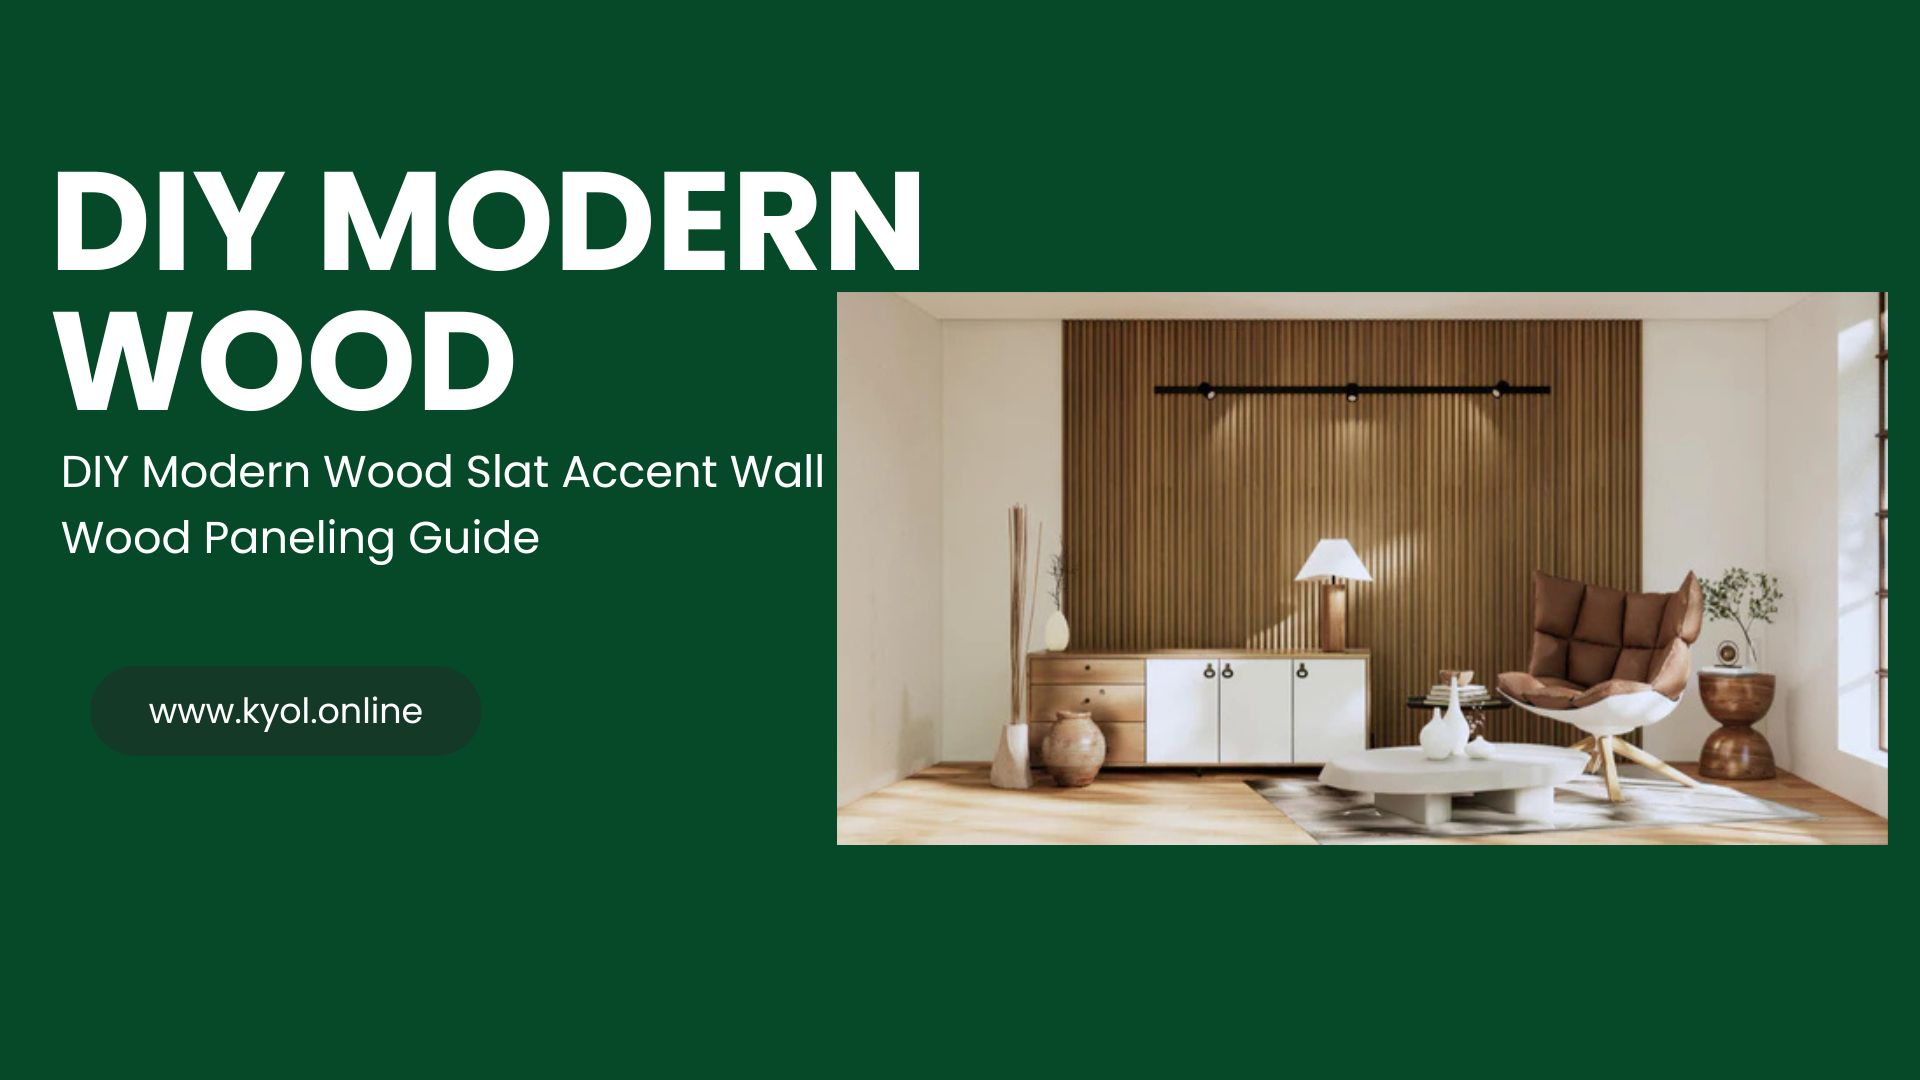
Why Choose a Wood Slat Accent Wall?

Wood slat walls also called wood paneling walls have exploded in popularity due to their sleek, minimal and natural look. Here is why they are a great choice:
- Adds warmth and texture to your space
- Improves acoustics and reduces echo
- Increases perceived home value
- Budget friendly compared to full remodels
- Customizable in design and color
Tools and Materials You will Need
Before you begin gather the right tools and materials. Here is your checklist:
Tools:
- Measuring tape
- Miter saw or circular saw
- Nail gun or hammer with finishing nails
- Level
- Stud finder
- Sandpaper or electric sander
- Paintbrush or foam roller optional for stain/paint
- Wood glue optional for extra hold
Materials:
- Wood slats typically 1×2, 1×3 or custom cut plywood strips
- Wood filler for nail holes
- Primer and paint or wood stain optional
- Wall anchors if not attaching to studs
- Painters tape
- Spacers coins or tile spacers work well
Step by Step Installation Guide

Let is dive into the step by step process of building your DIY wood slat accent wall. Make sure you read through everything once before starting.
Step 1: Plan Your Design
Measure your wall height and width to calculate how many wood slats you will need. Decide:
- Orientation: Vertical is most common but horizontal or diagonal slats are also stylish.
- Spacing: Consistent spacing usually ½” to 1 gives a clean look.
- Finish: Natural wood stained painted black or color matched to your wall?
Tip: Sketch a quick layout on paper or use painters tape on the wall to visualize the pattern.
Step 2: Prepare the Wall and Slats
- Clean the wall and fill any dents or holes.
- Locate and mark the studs if you plan to nail directly into them.
- Cut your slats to the correct length using a miter or circular saw.
- Sand each slat for smoothness especially on the edges.
Step 3: Paint or Stain Optional
If you want a stained or painted look do it before installing the slats:
- Use a high quality wood stain or paint.
- Let it dry completely usually 24 hours.
- Apply a clear sealant if needed.
Optional: Paint the wall behind the slats a dark color like black or charcoal for extra depth and contrast.
Step 4: Install the Slats
- Start from one edge of the wall left or right.
- Use a level to ensure the first slat is straight this is critical!
- Apply a dot of wood glue on the back optional.
- Nail into the studs or use wall anchors if needed.
- Insert your spacer and continue with the next slat.
Pro tip: Cut and fit around outlets or light switches as needed using a jigsaw or hand saw.
Step 5: Finish the Look
- Use wood filler to cover nail holes.
- Once dry sand lightly and touch up with stain or paint.
- Clean the wall with a dry cloth to remove dust.
| Item | Estimated Cost |
|---|---|
| Wood Slats | $60-$150 |
| Stain or Paint | $15-$40 |
| Nails & Hardware | $10-$20 |
| Tools (if needed) | $50-$200 |
| Total (DIY) | $100-$300 |
Maintenance Tips
- Wipe dust regularly with a dry or damp microfiber cloth.
- Avoid harsh chemicals use gentle wood cleaners if needed.
- Touch up chips or scratches with leftover stain or paint.
Wood Slat Wall Ideas by Room
Need inspiration? Here is where this style works beautifully:
- Living Room: Behind your TV or sofa
- Bedroom: As a statement headboard wall
- Office: Zoom ready backdrop
- Hallway: Make narrow walls stylish
- Entryway: Set the tone with warmth
Frequently Asked Questions FAQs
1. Can I install a wood slat wall without power tools?
Yes, it is possible While power tools like a miter saw and nail gun speed up the process you can use a handsaw and a hammer with finishing nails if you’re patient and precise.
2. What type of wood is best for a slat wall?
Popular options include pine, poplar, oak and plywood strips. Choose based on your budget and whether you plan to paint or stain. For a natural, warm look hardwoods like oak or walnut are ideal.
3. How do I make sure my slats are evenly spaced?
Use tile spacers, coins or cut scrap wood to act as consistent spacers between slats. This will ensure a neat professional look across the entire wall.
4. Should I stain or paint before or after installation?
It is best to paint or stain the slats before installation especially the edges. This saves time and avoids paint bleeding onto the wall.
5. Will a wood slat wall damage my existing wall?
Not permanently. Nail holes can be filled and painted over if you ever want to remove it. If you are renting consider using removable adhesive strips though they may not hold heavier wood slats reliably.
Conclusion
A DIY modern wood slat accent wall is one of the most rewarding home projects you can do it is stylish budget friendly and completely customizable to fit your space.
Whether you want to enhance your living room bedroom or home office this project adds warmth texture and that designer look without a designer price tag. By following the steps in this guide you will end up with a wall that not only looks professional but also reflects your personal style.