Gardening is more than just planting seeds and watching them grow it is about creating a sustainable beautiful space that reflects your care for nature. One simple way to enhance your garden while staying eco friendly is by making your own DIY garden markers from recycled materials. These markers not only help you keep track of your plants but also reduce waste and add a unique personal touch to your garden.
In this detailed guide we will walk you through why recycled garden markers are a smart choice the best materials to use step by step instructions and tips to make your markers last through seasons. Whether you are a seasoned gardener or just starting out this guide will inspire you to create beautiful sustainable garden markers.
Why Choose Recycled Materials for Garden Markers?
Before diving into the how to let is explore the benefits of using recycled materials for your garden markers.
- Environmentally Friendly: Using recycled items helps reduce landfill waste and promotes sustainability.
- Cost Effective: You save money by repurposing materials you already have at home.
- Unique and Personal: Each marker will have its own character making your garden truly one of a kind.
- Easy and Accessible: Recycled materials are often readily available and easy to work with.
Best Recycled Materials for Garden Markers
Here are some fantastic recycled materials you can use to make your garden markers:
1. Old Wooden Paint Stir Sticks or Popsicle Sticks
Perfect for a rustic look. These are easy to write on and can be painted for added color.
2. Broken Pots or Pottery Shards
Pieces of broken ceramic or terracotta can be painted and labeled. They are durable and weather resistant.
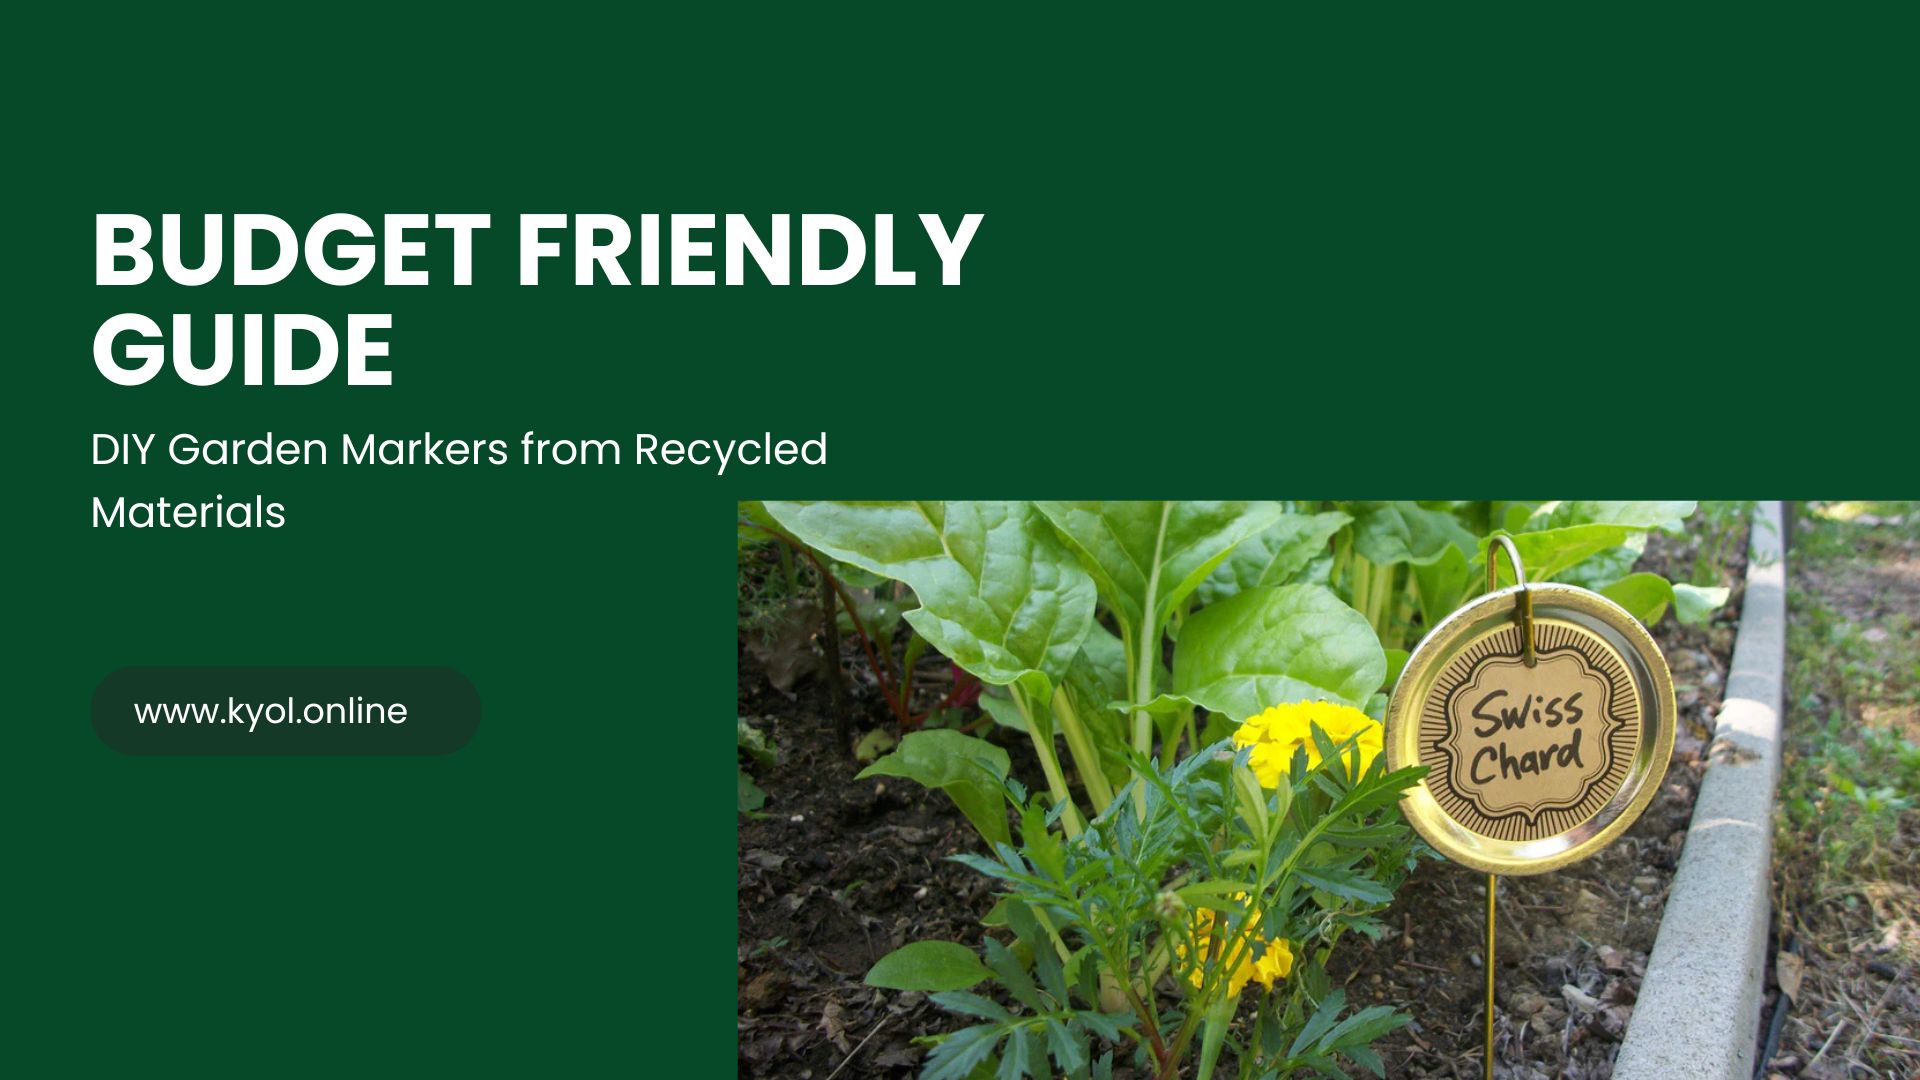
3. Tin Cans or Metal Bottle Caps
Cut or flatten old cans and use a permanent marker or paint pen to label them. Metal markers add a modern twist.
4. Plastic Bottle Caps or Containers
Brightly colored caps or small containers can be reused as mini plant labels.
5. Cardboard or Paperboard from Packaging
Although less durable you can laminate or coat them to make temporary markers.
Step by Step Guide to Making DIY Garden Markers from Recycled Materials
Lets make your own eco-friendly garden markers in 5 easy steps!
Step 1: Gather Your Materials
Collect your recycled materials wooden sticks old cans pottery shards etc. You will also need:
- Permanent markers or paint pens
- Acrylic paint or spray paint optional
- Clear waterproof sealant spray to protect your labels
- Scissors or garden shears
- Glue if attaching parts together
Step 2: Clean and Prepare Your Materials
Wash any dirty items like cans or pottery to remove dirt and rust. Dry them thoroughly to ensure paint and markers adhere properly.
Step 3: Decorate Your Markers Optional
If you want your markers to stand out paint them with bright colors or patterns. Let the paint dry completely.
Step 4: Label Your Markers
Write the plant names clearly using permanent markers or paint pens. For wooden sticks write on the flat side. For metal or pottery make sure the surface is dry and smooth.
Step 5: Seal Your Markers for Longevity
Spray a clear waterproof sealant to protect your writing from rain, sun and wear. Let the sealant dry fully before placing the markers in your garden.
Tips for Using Your Recycled Garden Markers
- Place markers near the plants base for easy identification.
- Use different colors or shapes to categorize plant types herbs vegetables flowers.
- For markers in heavy rain areas consider adding a small stake or stick to secure them firmly.
- Refresh your markers each season by repainting or re labeling as needed.
FAQs About DIY Garden Markers from Recycled Materials
Q1: What are the best recycled materials for garden markers?
A: Wooden sticks broken pottery tin cans plastic bottle caps and cardboard are excellent options. Choose materials that are durable and easy to label.
Q2: How do I make sure my garden markers last through weather conditions?
A: Use a clear waterproof sealant spray to protect your markers from rain and sun. Choose materials like wood metal or pottery for more durability.
Q3: Can I use these markers for indoor plants too?
A: Absolutely DIY recycled garden markers work great for both indoor and outdoor plants.
Q4: Are recycled garden markers safe for edible plants?
A: Yes as long as you use non-toxic paints and sealants recycled markers are safe around vegetables and herbs.
Q5: How can I make my garden markers more visible?
A: Paint your markers with bright colors or add reflective tape to improve visibility especially in low light.
Conclusion
Creating DIY garden markers from recycled materials is a rewarding eco friendly project that helps you keep your garden organized while reducing waste. By repurposing everyday items like wooden sticks, old cans and broken pottery you not only save money but also add a personal creative flair to your gardening space.
With just a few simple steps cleaning, decorating, labeling and sealing you can make durable and attractive markers that withstand the elements. Plus, these sustainable markers support your commitment to a greener lifestyle aligning perfectly with todays environmental values.